¶ 9. New policy
Application: Portal Nomid MDM
Document: V1.1.0
Last updated: 07/08/2026
Editorial owner: Nomid MDM Documentation
Last editorial review: 07/08/2026
Editorial language: en-US
The New policy wizard gathers the name, group, device type, template, apps, and initial settings to create an Android or VR/Pico policy. Create Policy starts creation; when it completes, the result screen offers View Policy to open the policy and review the recorded configuration.
Important: Create Policy creates a persistent record; it is not a preview. Templates and quick settings are starting points. Review your choices before creating, then check the recorded policy before production use. Save in the full editor changes an existing policy. Neither confirmation in Portal nor a synchronization request proves the result on the device.
¶ Prerequisites
- Define the purpose of the policy and the type of equipment it will manage.
- Confirm the company and group where the policy should be organized.
- For Android, confirm that Android Enterprise and application sources are available.
- For VR/Pico, prepare the APKs and applications to be distributed.
- Avoid generic names; identify the role, audience, or operational purpose.
¶ Open the wizard
¶ From the Policies menu
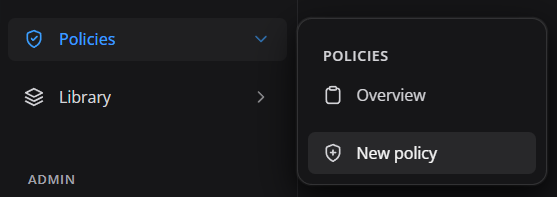
Open Policies in the side menu and select New policy. Use this route when the task starts from policy administration.
¶ From the global shortcut
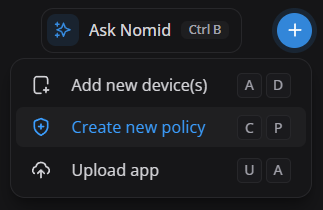
Open the global + button and select Create new policy. The interface may also display the corresponding keyboard shortcut.
¶ From the page button
On the policies page, select New policy to start the same wizard.
¶ Set the name, group, and device type
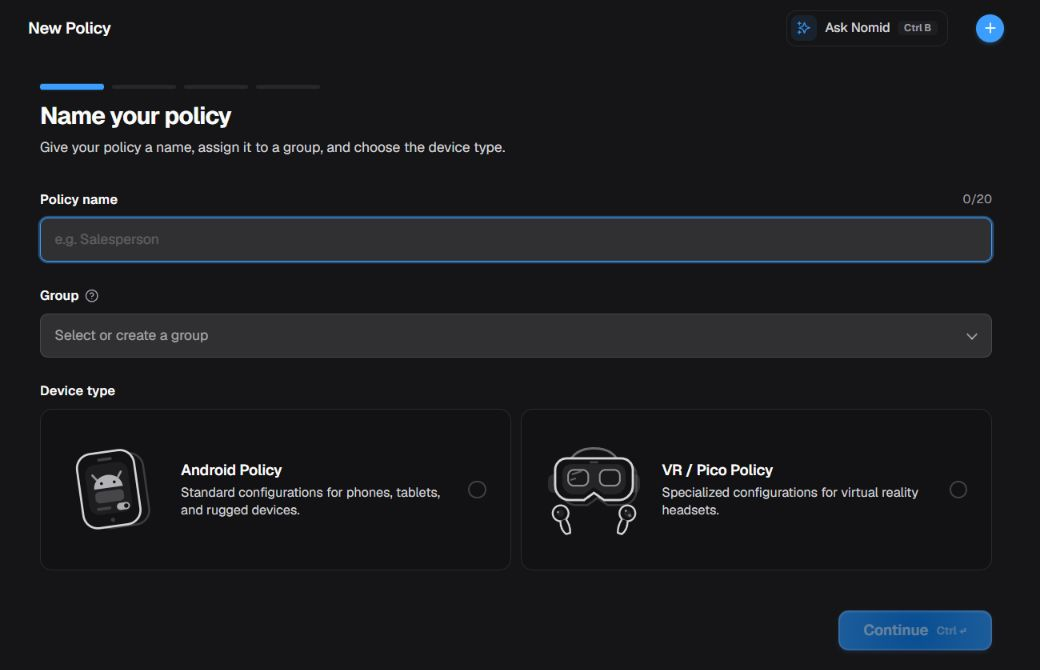
The name field shows sample text only (a placeholder): it is a visual example, not a saved name or a filled value. No group or platform is selected, so Continue remains disabled. This screen does not create a policy.
The first step identifies the policy and determines which set of settings is displayed.
¶ Name and group
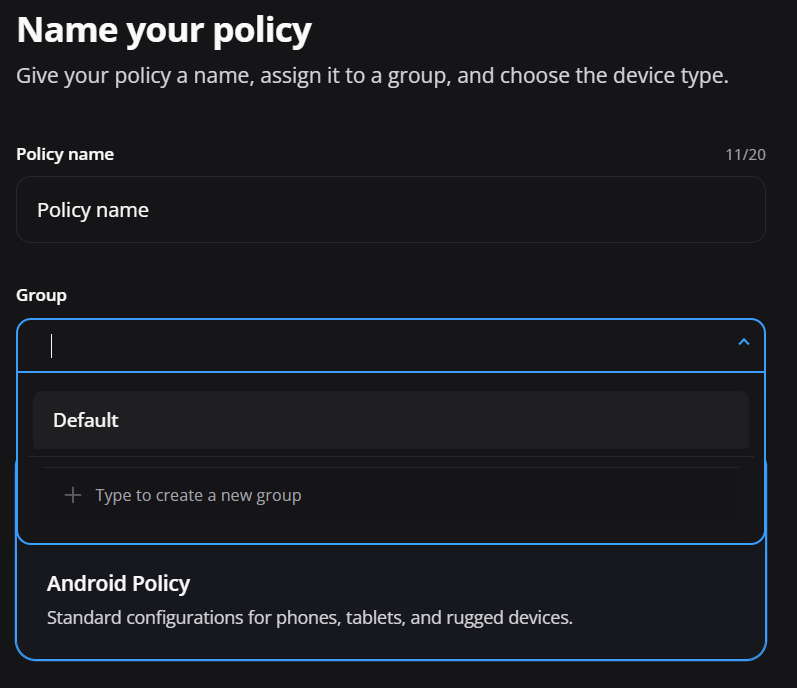
- Policy name: enter a short, recognizable name. The current screen displays a 20-character limit.
- Group: select an existing group or create a new one when required.
- Organization: groups make it easier to search, delegate, and separate customers, sites, projects, or scenarios.
Use a predictable pattern such as Role-Site or Customer-Use, respecting the limit shown by the portal.
¶ Android Policy
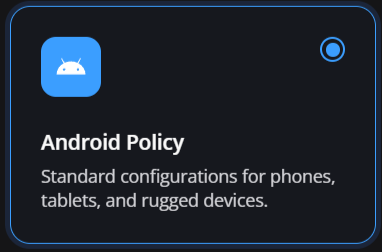
Select Android Policy for smartphones, tablets, and rugged devices managed through Android Enterprise.
¶ VR / Pico Policy
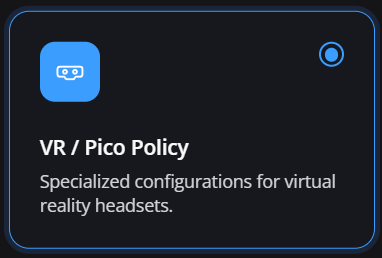
Select VR / Pico Policy for Pico virtual reality headsets and ecosystem-specific resources.
Attention: The selected type defines the available templates, applications, and settings. If it is wrong, return to the beginning instead of adapting an incompatible policy.
¶ Move through the wizard
- Enter the name and group, choose the platform, and select Continue. The next step shows templates for that platform.
- Choose a template, Start from scratch, or a policy to copy. Review the source before confirming a copy; the next step lets you review apps.
- On Android, review the apps and use Continue to reach essential settings. For VR/Pico, the apps step is already the final step before Create Policy.
- Review your choices, then select Create Policy. Wait for the result and select View Policy to check what was recorded.
Skip setup is not cancel: it goes to essential settings on Android or to apps on VR/Pico. Leaving a copy path can discard the inherited configuration from the wizard; check the starting point again. To review without completing, use Back when available. Leaving before Create Policy does not create that policy, but does not undo a group created or an APK uploaded separately.
¶ Create an Android Policy
¶ Choose a starting method
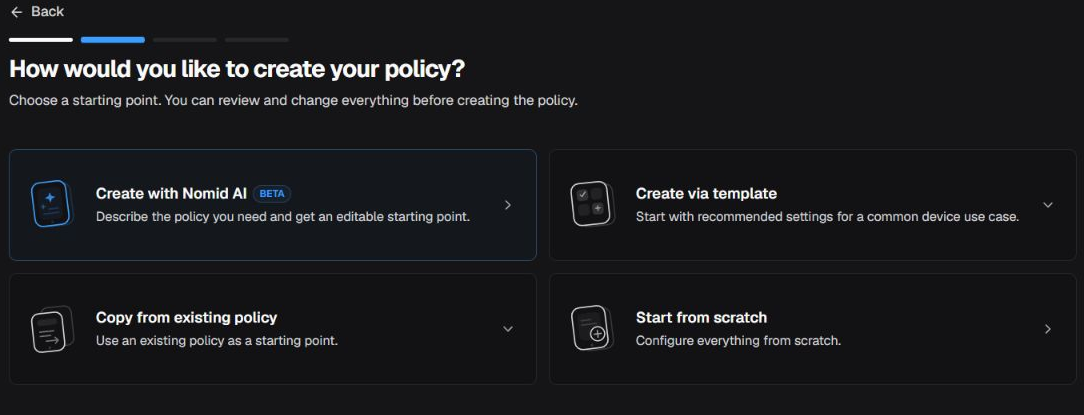
Create with Nomid AI appears only for Android policies when this capability is enabled in Portal. Selecting it opens an AI step where you can generate and review a proposal. That selection does not create the policy yet: creation begins when the proposal is accepted in that step. Seeing the option in this image does not prove that it is available to every account.
A template fills in initial values for the selected scenario. When creating a policy without copying another one, the wizard also includes default reporting and data collection settings, including with Start from scratch. Review these areas in the policy editor before distributing it; saving or distributing a policy does not, by itself, confirm its effect on a device.
What to review in the initial defaults: Prompt leaves the permission decision with the user when Android presents an app request; it does not mean automatic approval. For an unattended kiosk, plan and test the necessary permissions instead of relying on someone to answer. Check Permissions and relaunch and, under Data collection, status/device reports, usage collectors, and geolocation. A template, including Start from scratch, does not replace that access and privacy decision.
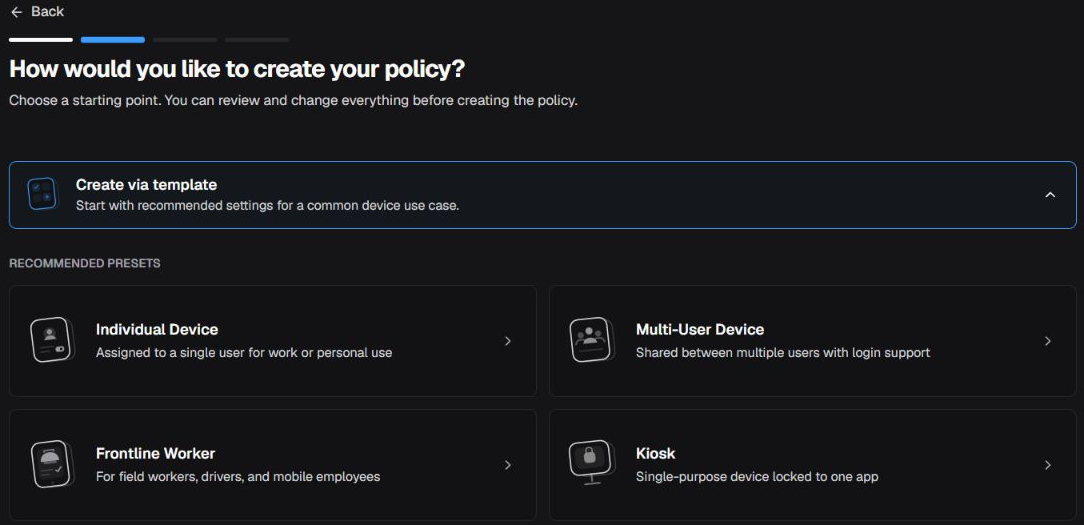
Opening Create from template shows the Individual Device, Multi-User Device, Frontline Worker, and Kiosk presets. Starting from scratch and copying an existing policy remain separate methods on this step.
¶ Individual Device
Use for a device assigned to one user in a work or controlled individual-use scenario.
Initial configuration: starts with Play Store in allowlist mode, USB file transfer blocked, default permission policy set to Prompt, status reports enabled, and Nomid Launcher.
¶ Multi-User Device
Use for equipment shared by multiple users when the scenario requires login or operator switching.
Initial configuration: starts with Play Store in allowlist mode, account modification, factory reset, USB, and safe boot blocked, default permissions set to Prompt, status reports enabled, and Nomid Launcher.
¶ Frontline Worker
Use as a starting point for field teams, drivers, and mobile employees.
Initial configuration: starts with Play Store in allowlist mode, account modification, factory reset, and safe boot blocked, debugging disabled, default permissions set to Prompt, status reports enabled, and Nomid Launcher.
¶ Kiosk
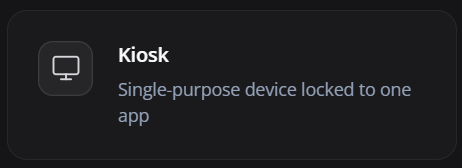
Use for equipment dedicated to one purpose or application. Validate launcher behavior, navigation, kiosk exit, and administrative recovery before saving and testing.
Initial configuration: starts with Play Store in allowlist mode, factory reset, USB, and safe boot blocked, debugging disabled, default permissions set to Prompt, status reports enabled, and Nomid Kiosk.
¶ Start from scratch
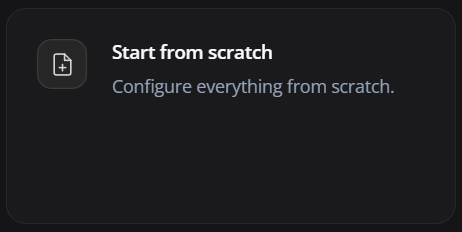
Creates a policy without a scenario preset. It is the most flexible option but requires every necessary area to be reviewed and configured.
Initial configuration: does not apply a scenario preset and initially keeps the system default launcher. The wizard still includes default reporting and data collection settings; review them before distribution.
¶ Copy existing policy
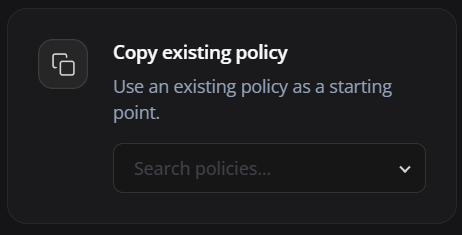
Select an existing policy as the baseline. Use this when the new configuration is a controlled variation while preserving the original policy.
Applied result: copies the full selected policy resource, including apps, restrictions, launcher, Play Store, Wi-Fi, and other settings, into a new policy. The source remains unchanged.
You can also duplicate a policy directly through its action:
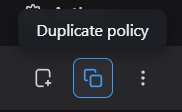
Duplicate policy also creates a separate policy with the source's complete configuration and does not change the duplicated policy. In either path, treat the copy as a new configuration before it reaches devices.
After copying or duplicating, review each of these items: name and group; app list and modes; launcher, Play Store, and kiosk; Wi-Fi, APN, VPN, proxy, and certificates; managed configurations; remote access; contacts and schedules; enforcement and destructive actions. Confirm, replace, or rotate scenario-specific credentials and secrets before use.
¶ Add applications
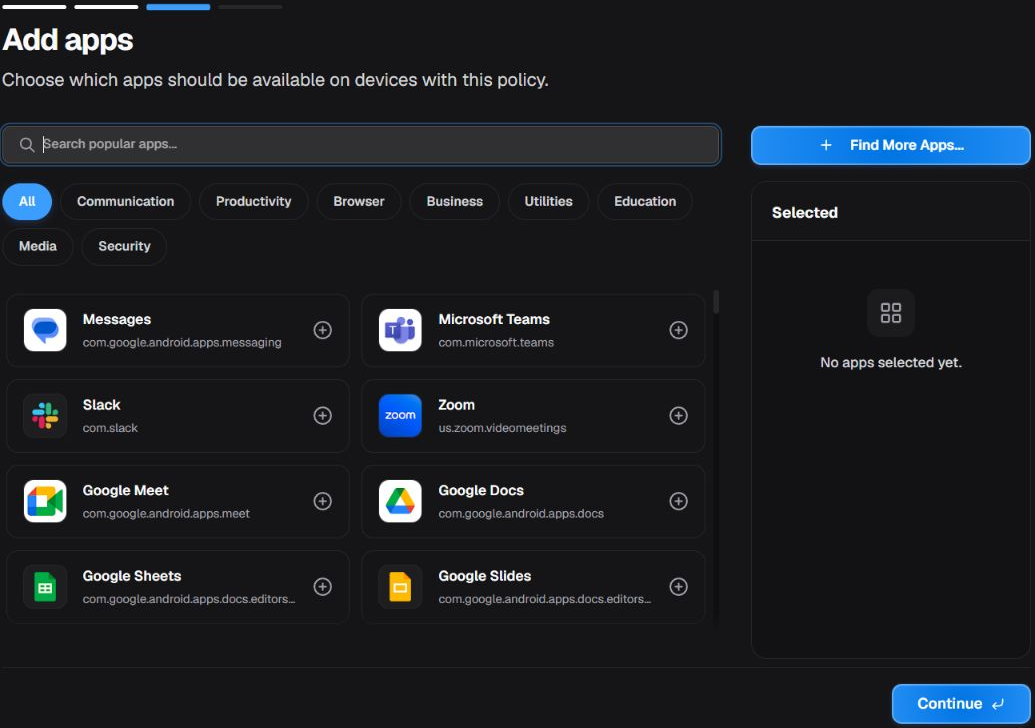
The Add apps step lets you choose suggested applications, browse categories, and build the initial policy list.
¶ Application sources
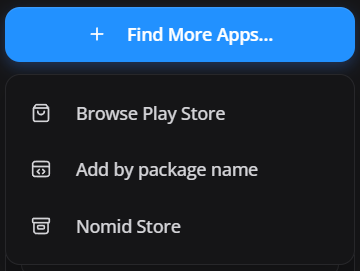
Under Find More Apps, the portal may offer:
- Browse Play Store: searches Managed Google Play.
- Add by package name: adds an application by its Android package identifier.
- Nomid Store: uses applications available in the company's own library.
Confirm the application name, developer, and package name before adding it.
¶ Required or Available
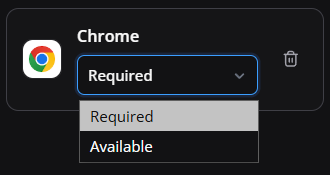
- Required: the application is mandatory and management attempts to install it on compatible devices.
- Available: the application is available for user installation from the managed catalog, depending on management mode.
- Blocked: when available in the full editor, prevents the app from being used or installed.
- Kiosk: when available, pins the app as a kiosk/single-app experience. In VR policies, regular apps stay Required and the Nomid Settings app can switch between Required and Kiosk.
Use Required only for necessary applications because mandatory installations increase traffic, setup time, and the impact of package failures.
¶ Configure essential options
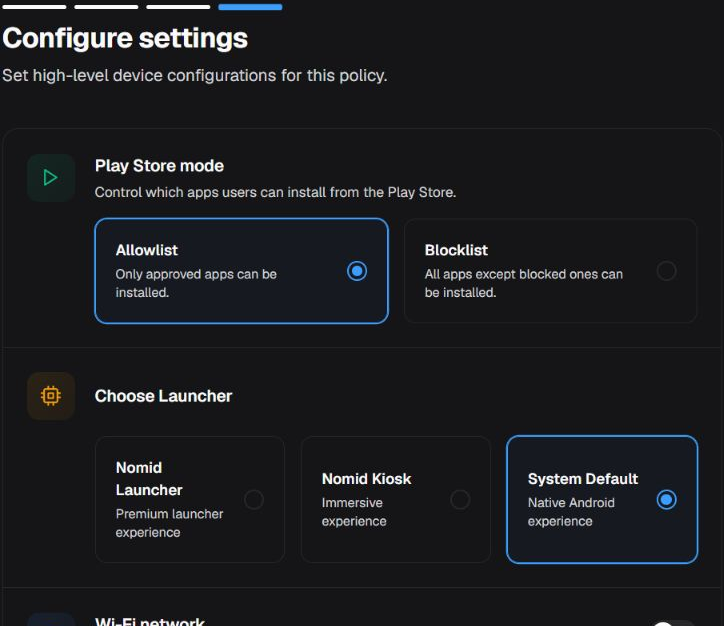
The wizard displays high-level Play Store, launcher, and Wi-Fi options. This image shows Play Store and launcher; Wi-Fi appears further down in the same step. Other settings remain available in the full policy editor.
¶ Play Store mode
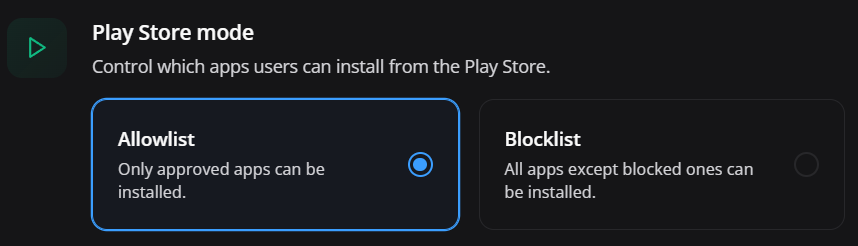
- Allowlist: only organization-approved applications can be installed.
- Blocklist: all applications are allowed except those explicitly blocked.
Allowlist provides greater control; Blocklist provides greater freedom and requires closer monitoring.
This is the same operational logic called Allow list and Deny list on the Apps screen of an already-created policy; only the wording differs between screens.
¶ Choose Launcher
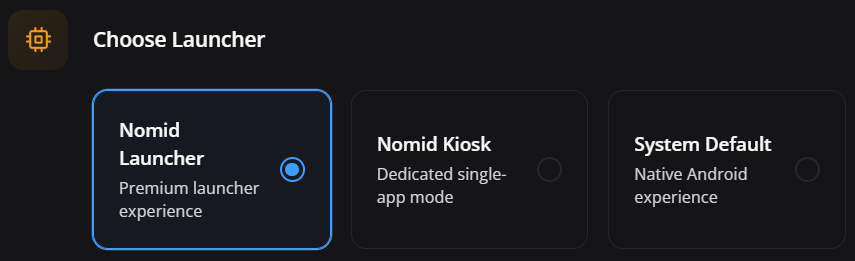
- Nomid Launcher: a managed and customizable experience.
- Nomid Kiosk: a locked experience that can use multiple policy apps or a single app in the full editor.
- System Default: keeps the native Android experience.
Choose according to the equipment's purpose and validate Home behavior, navigation, and administrative recovery.
¶ Wi-Fi network
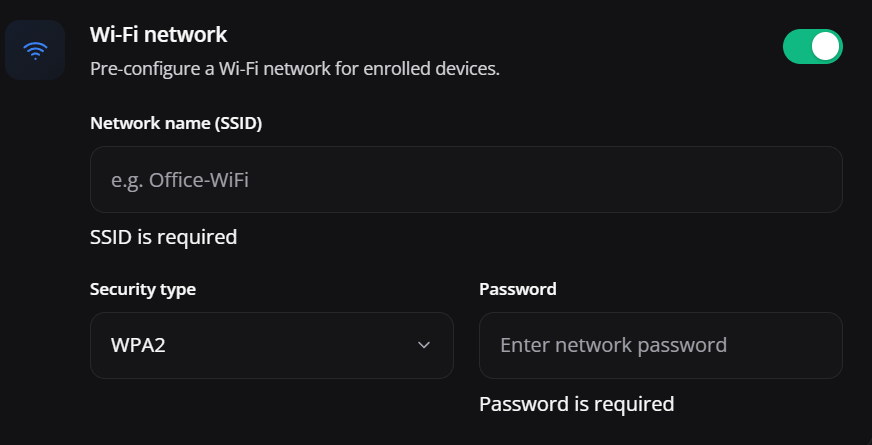
Enable Wi-Fi when you want to deliver an initial network with the policy. Enter the SSID, security type, and password.
Security: Use a network appropriate for managed equipment. Do not document passwords, and update the policy whenever network credentials change.
¶ Create a VR / Pico Policy
¶ Choose a starting template
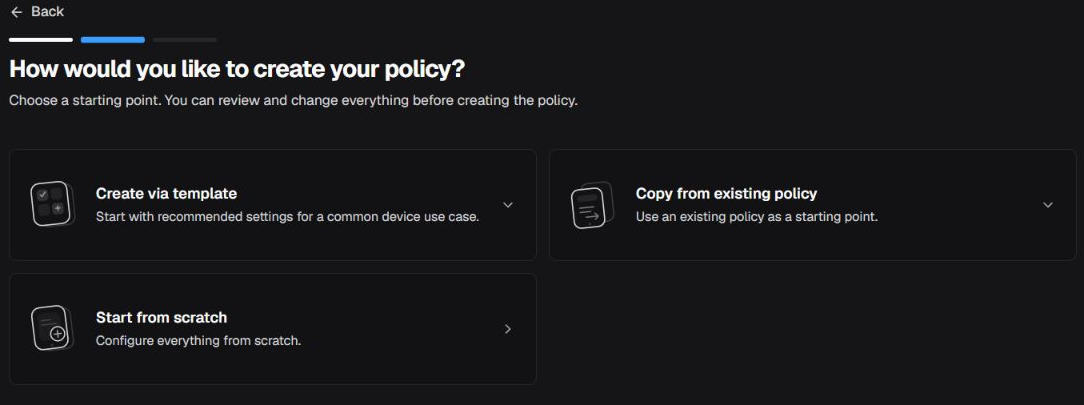
This overview shows the three methods in this step: Create via template, Copy existing policy, and Start from scratch. The template disclosure remains closed in the image; it does not confirm which presets are available.
¶ Education
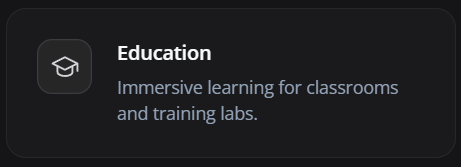
Use for immersive learning experiences, classrooms, and training labs.
Applied result: creates a VR policy, blocks factory reset, enables the custom launcher/kiosk behavior for the headset, and turns on status reports.
¶ Industrial Training
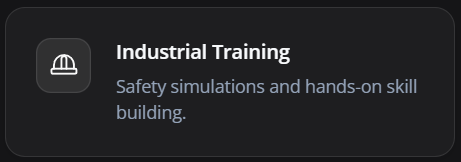
Use for safety simulations and practical training in industrial scenarios.
Applied result: creates a VR policy, blocks factory reset, enables the custom launcher/kiosk behavior for the headset, and turns on status reports.
¶ Start from scratch
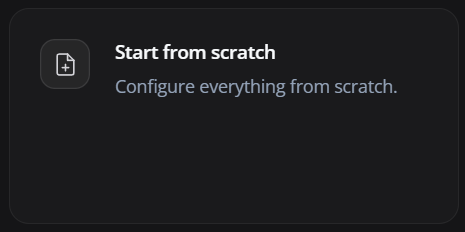
Creates a VR policy without a preset. Configure the required applications and behavior manually.
Applied result: creates the VR policy without an app or restriction preset, requiring manual configuration before saving and using it on devices.
¶ Copy existing policy
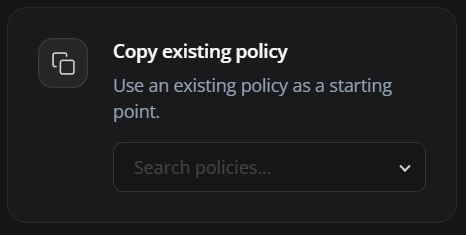
Use an existing VR policy as the starting point for a new variation.
Applied result: copies the full selected VR policy configuration, including apps, restrictions, and launcher/kiosk behavior, into a new policy. The source remains unchanged.
You can also duplicate a VR policy directly:
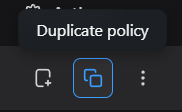
Duplicate policy creates another VR policy without changing the source. Also review APKs, versions, headset compatibility, launcher/kiosk, network, and any inherited credentials before saving the copy.
¶ Add VR applications
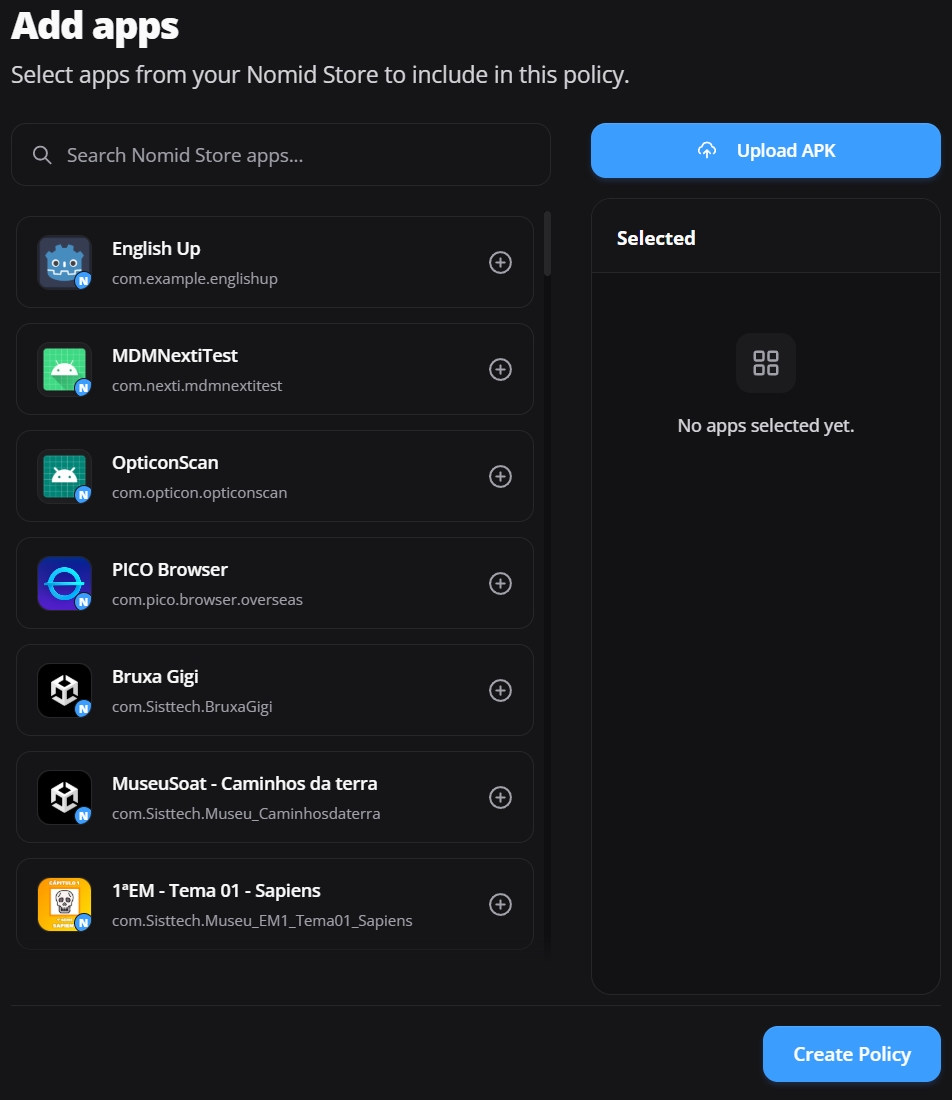
Select applications available in the company store or upload a new APK for the policy.
¶ Upload APK
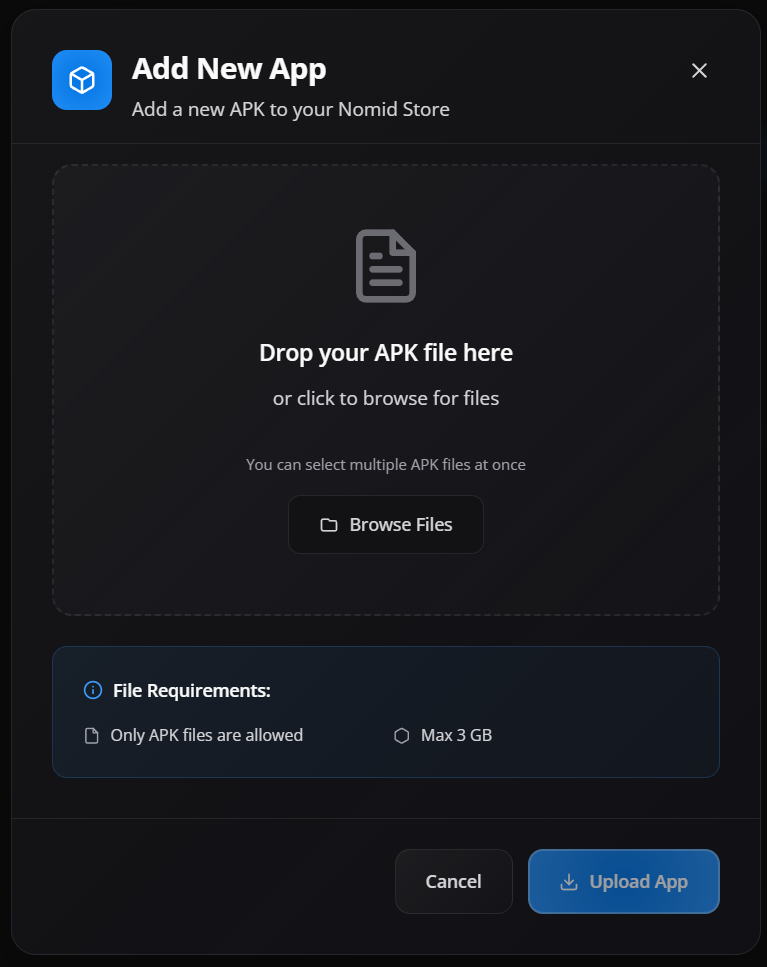
The window accepts APK files, including batches. Confirm origin, signature, version, package name, and headset compatibility before uploading. Before selecting files, confirm the accepted size per file with the service administrator. The size shown in the window does not guarantee that an upload will be accepted. Upload registers a file in Library and is not undone by leaving the wizard; see Add application.
¶ Required or Available
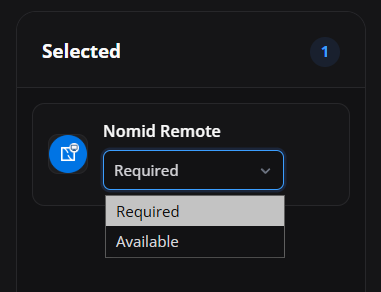
- Required: installs the application as a mandatory policy component.
- Available: makes the application available without forcing immediate installation.
¶ Before creating the policy
- Review the name, group, and platform. Check the template and selected apps.
- On Android, check available installation modes, Play Store, launcher, Wi-Fi, permissions, and reporting/collection defaults.
- For VR/Pico, check APKs, versions, and headset compatibility. Subsequent editing has its own options; do not assume Android equivalence.
- If exploring, leave before Create Policy. Creating groups and uploading APKs are separate operations and are not undone merely by leaving the wizard.
Select Create Policy only when you intend to create the record. On completion, use View Policy. Creation and configuration can partially succeed: a partial-result message can mean that the policy already exists but some settings were not recorded. Do not immediately create another one; find the policy in Policies, check what was recorded, and complete only what is missing.
¶ Validate and continue
Review the created policy in the correct group. To edit Android, continue in Android policies; for VR/Pico, in VR/Pico policies. Those articles explain settings, risks, and recovery in the full editor without mixing the platforms' options.
Saving an existing policy records changes and can start synchronization for eligible linked devices. Do not treat creation or saving as a guarantee of no distribution, or as proof of installation or operation. To establish the link through provisioning, follow New device. Validate on a pilot and, in Devices, check the reported policy/version and last synchronization as well as actual device behavior.
¶ Common issues
¶ Incorrect name or group
- Correct the information before distributing the policy.
- Avoid creating copies only to adjust naming when the policy is not yet in use.
- Confirm the company before completing the wizard.
¶ Incorrect device type
- Return to the beginning and create the policy using the correct type.
- Do not use an Android Policy for VR/Pico or a VR/Pico Policy for standard Android devices.
¶ The application does not appear
- Check Managed Google Play integration, package name, and availability for the country and company.
- For VR, confirm that the APK was uploaded and processed correctly.
- Review search filters and categories.
¶ Wi-Fi does not connect
- Confirm the SSID, security type, and password.
- Check that the network is in range and does not depend on a captive portal incompatible with enrollment.
- Update the policy when network credentials change.
¶ The copy brought unwanted settings
- Review every tab of the cloned policy, not only the initial wizard.
- Change the name, group, applications, networks, launcher, restrictions, and references from the original scenario.
- Test on a pilot device before replacing an existing policy.