¶ Remote - basic use
Application: Nomid Remote
Document: V1.0.0
Last updated: 02/07/2026
Application version: V1.130.8
Editorial owner: Nomid MDM Documentation
Last editorial review: 02/07/2026
Editorial language: en-US
¶ Nomid Remote access for mobile devices
Nomid Remote is a remote access solution designed for Android mobile devices, allowing users to control devices remotely with security and efficiency. It's an ideal tool for technical support, monitoring, and management of mobile devices, offering advanced features such as voice chat, file transfer, and session recording.
For Nomid Remote to function correctly, certain permissions must be configured on the remote device. This manual provides a step-by-step guide to configure remote access, adjust settings, and utilize all offered functionalities.
¶ Necessary Permissions for Proper Operation
To ensure Nomid Remote operates without interruption, follow the steps below to enable essential permissions on the Android device:
¶ Remote Control Permission
Access the device settings:
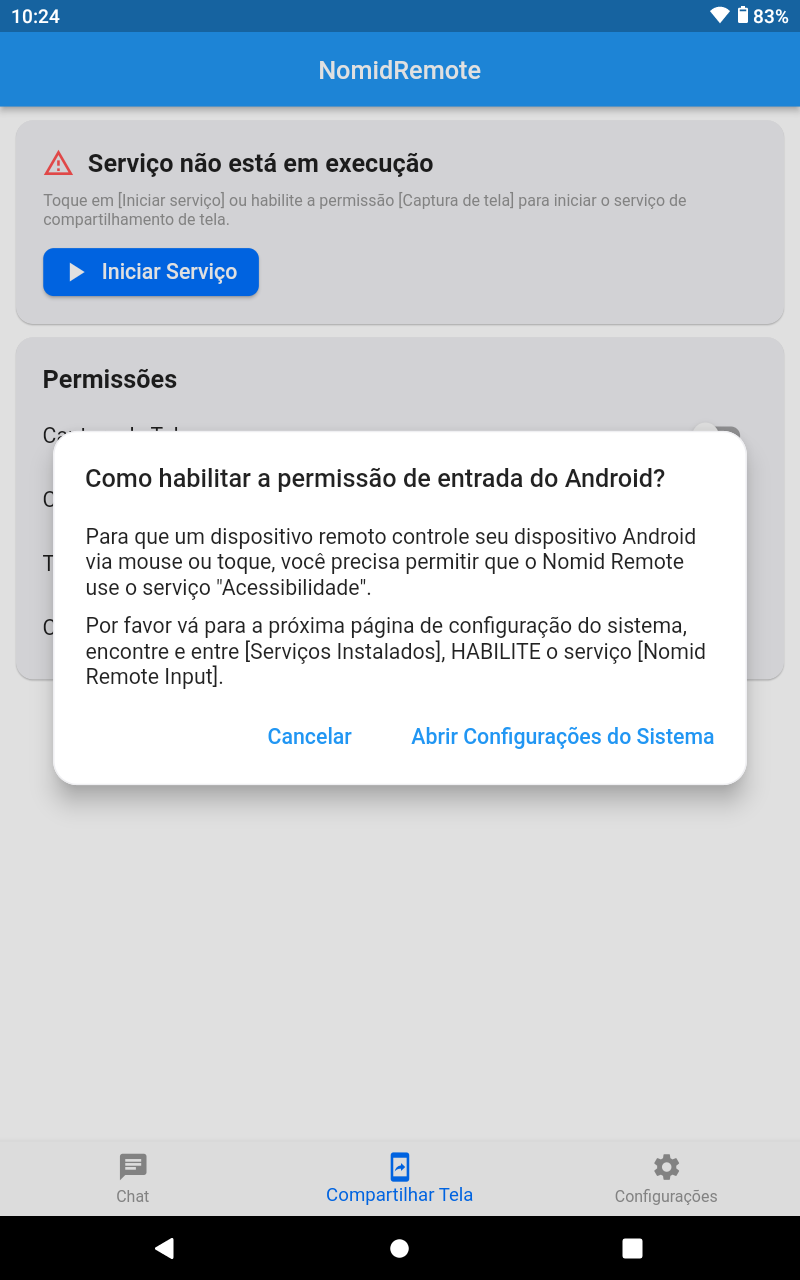
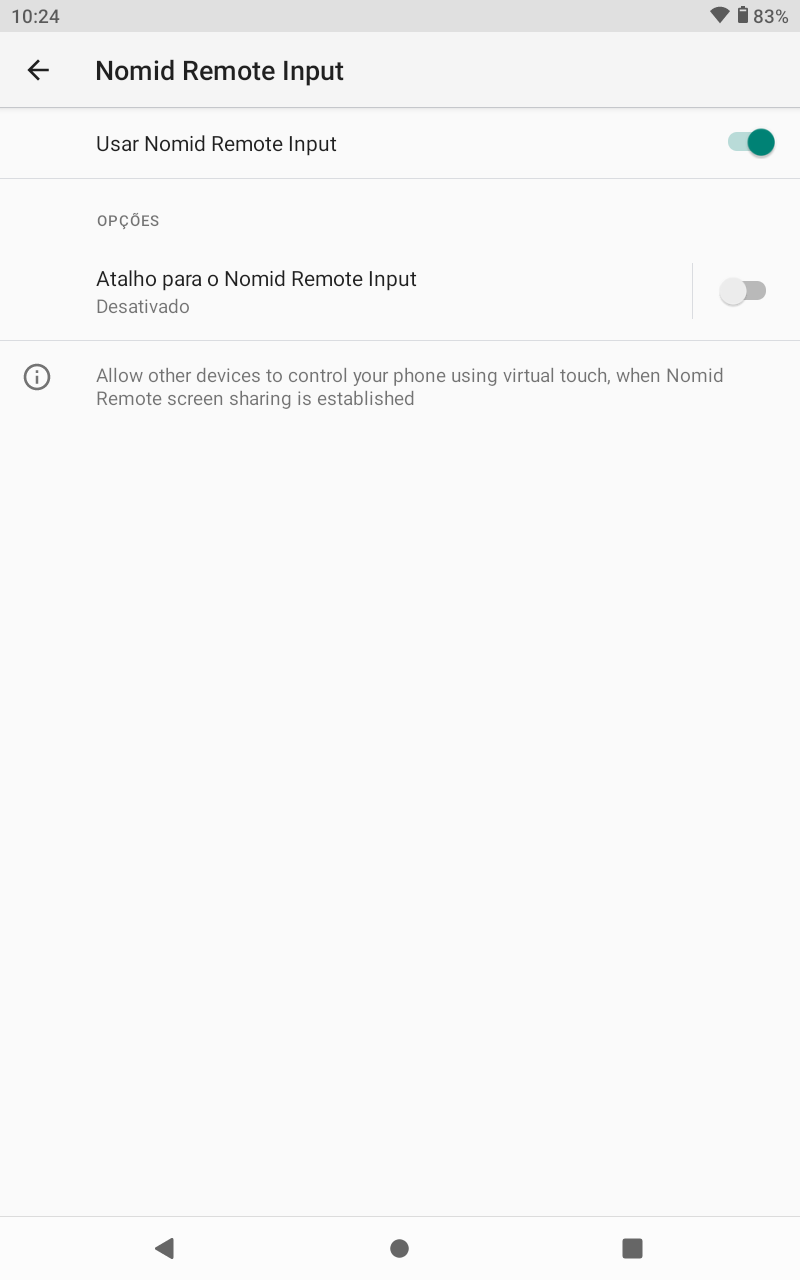
Go to "Accessibility" and select "Nomid Remote Input".
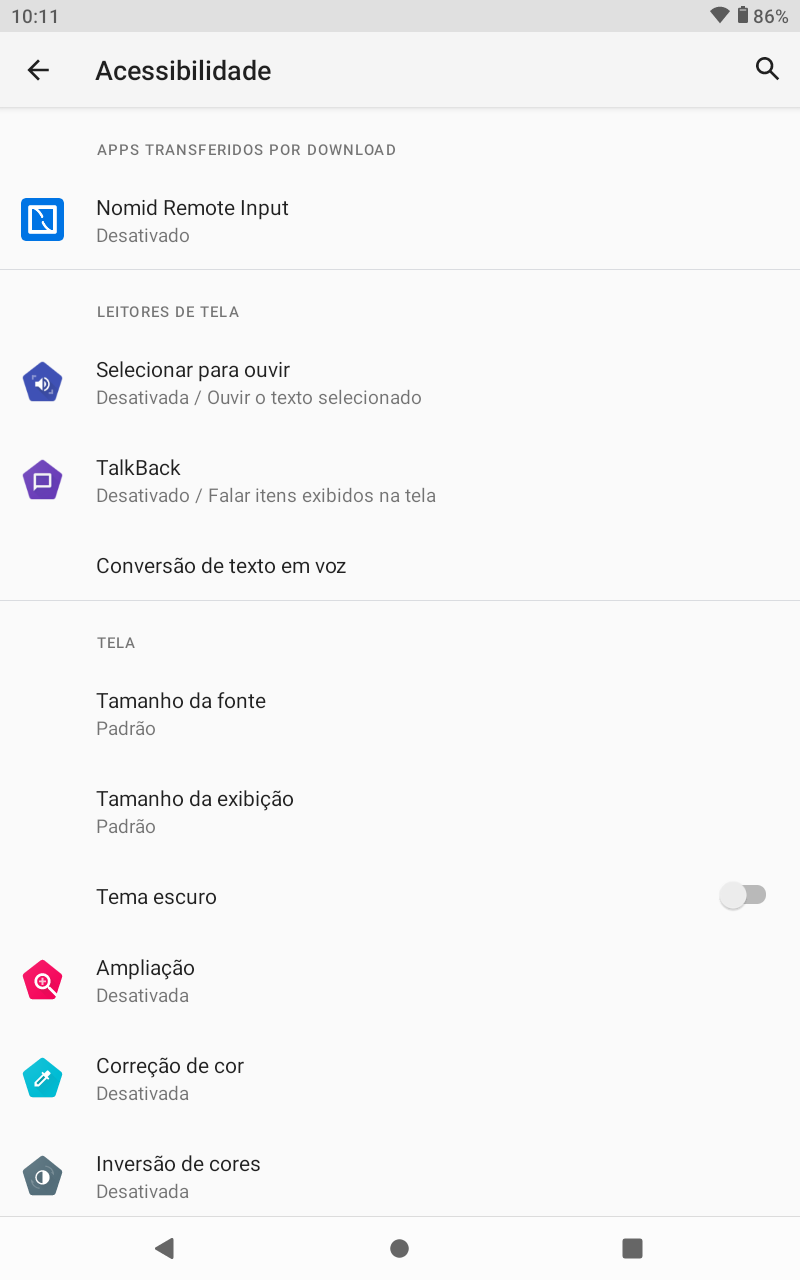
Activate the service to allow Nomid Remote to control the device remotely.
¶ Permission to Display Over Other Apps
In the device settings, go to "Apps".
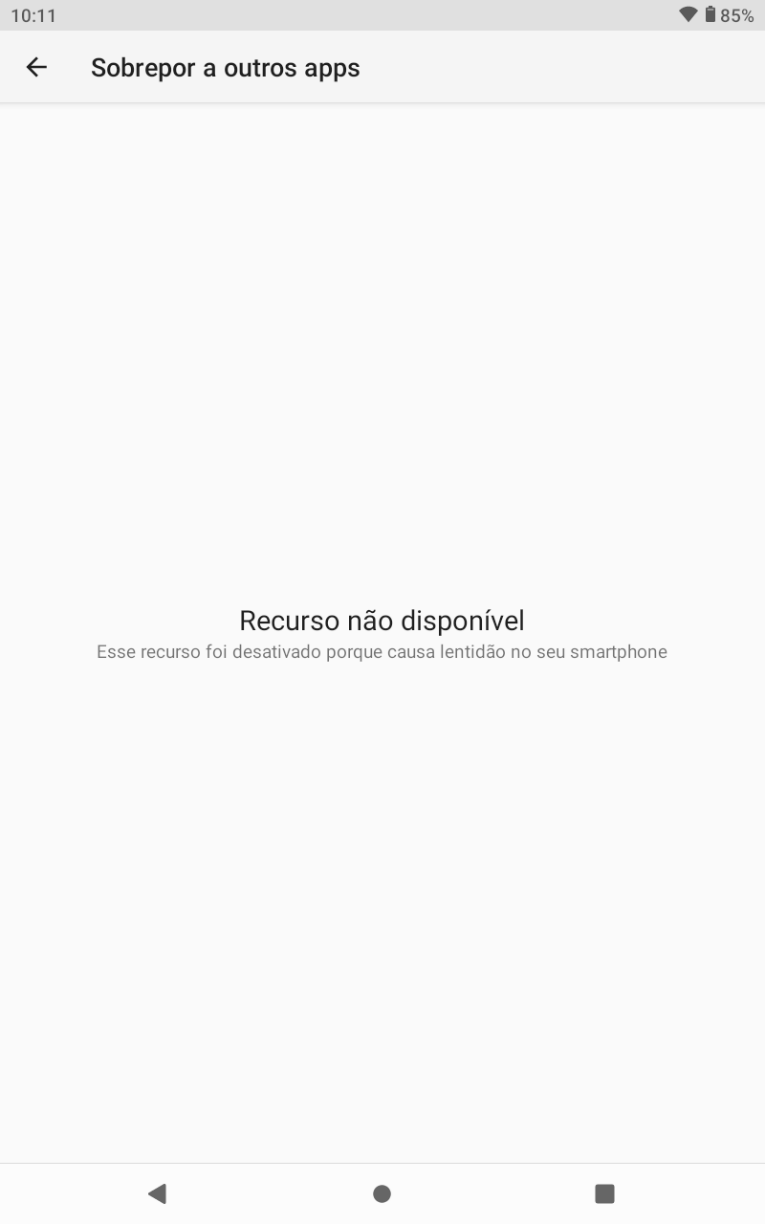
Select "Nomid Remote" and activate "Display over other apps" to allow the Nomid Remote interface to be displayed over other running applications.
¶ Microphone and Camera Access Permission (optional)
- To enable voice and video chat functionalities, grant access permission to the device's microphone and camera.
¶ How to Access
To initiate remote access with Nomid Remote, follow these steps:
¶ Installing Nomid Remote
- Download and install Nomid Remote control on the Android device or computer that will access the devices;
- Configure the policy to install Nomid Remote on the devices that will be accessed;
- Grant the necessary permissions as described above;
- To access, follow the instructions to configure the device, including granting the permissions mentioned earlier.
¶ Establishing the Connection
-
Open Nomid Remote on both the controller and remote devices.
-
On the controller device, enter the access code displayed on the remote device and click "Connect".
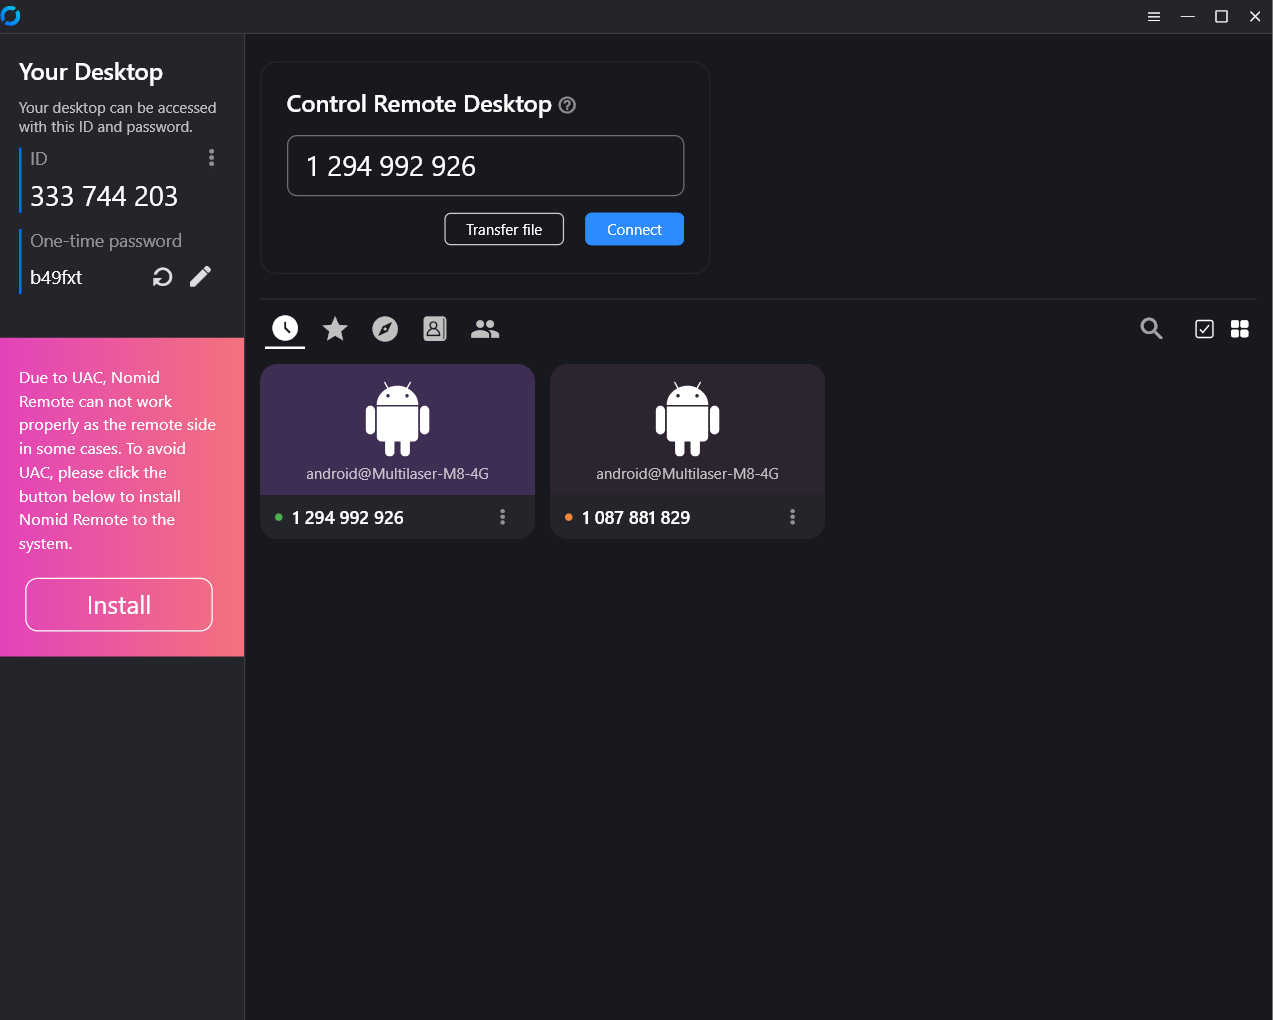
-
Ask the user to accept the connection or enter the access password.
-
After the connection, the remote device's screen will be displayed on the controller, allowing complete control.
¶ Settings
Nomid Remote offers several settings to customize the remote access experience:
¶ Image Quality Adjustments
- Access "Settings" and adjust the image quality to balance visualization and network performance. Options include "High Quality", "Balanced", and "Optimized Response Time".

¶ Functionalities
Nomid Remote includes several functionalities to enhance the remote access experience:
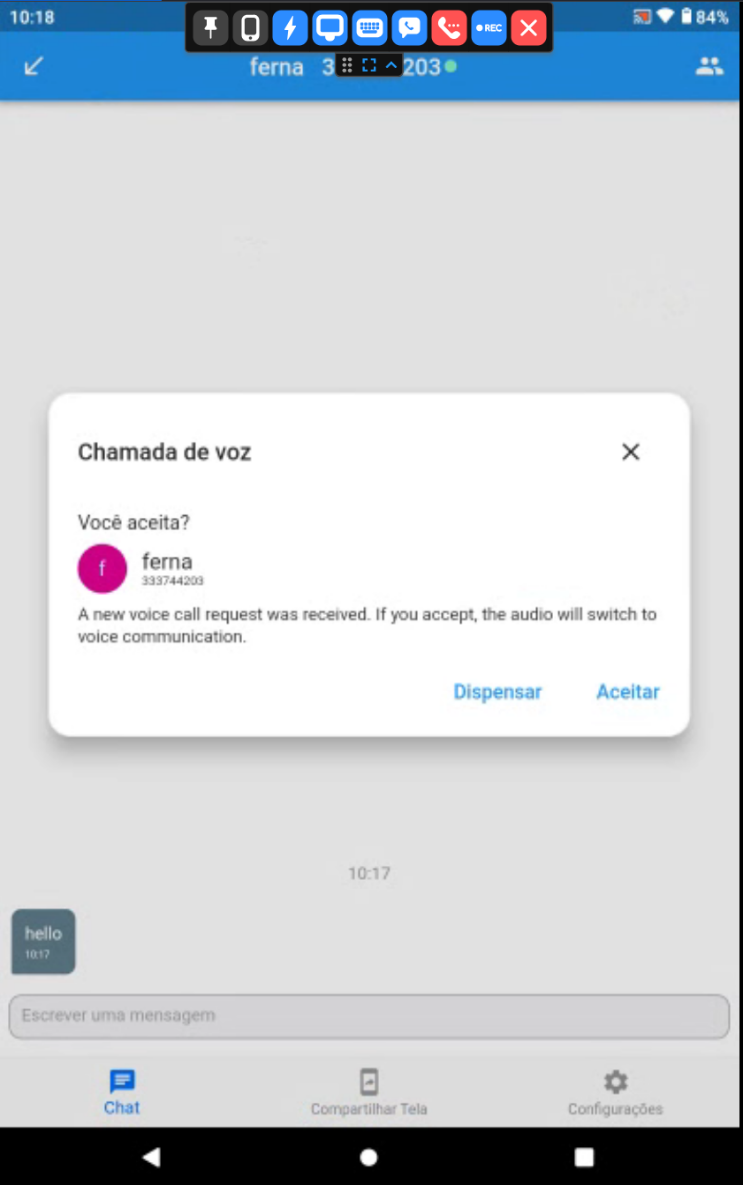
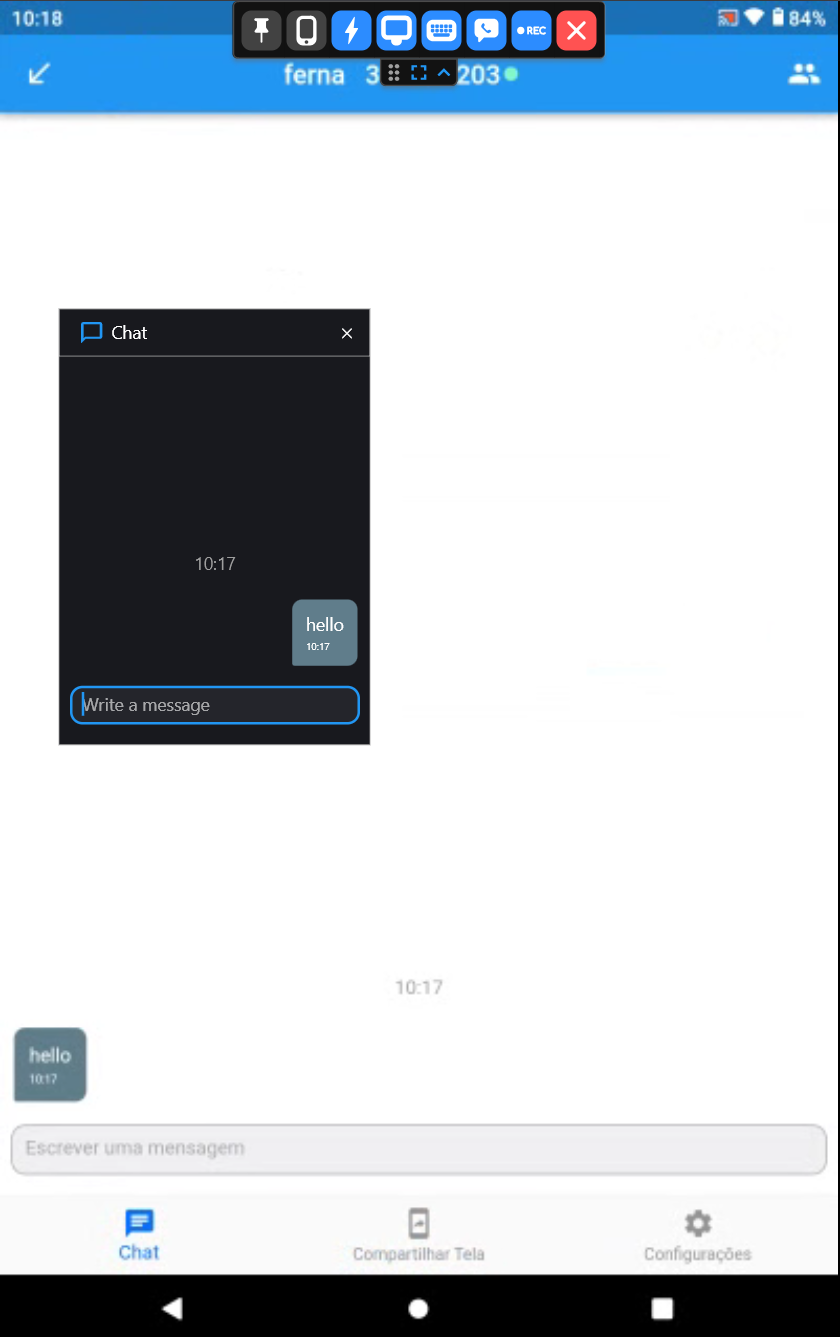
¶ Voice and Audio Chat
To initiate a voice communication, click on the voice chat icon in the main interface. A notification will appear asking if you want to accept or decline the call. After accepting, adjust the audio input device as needed.
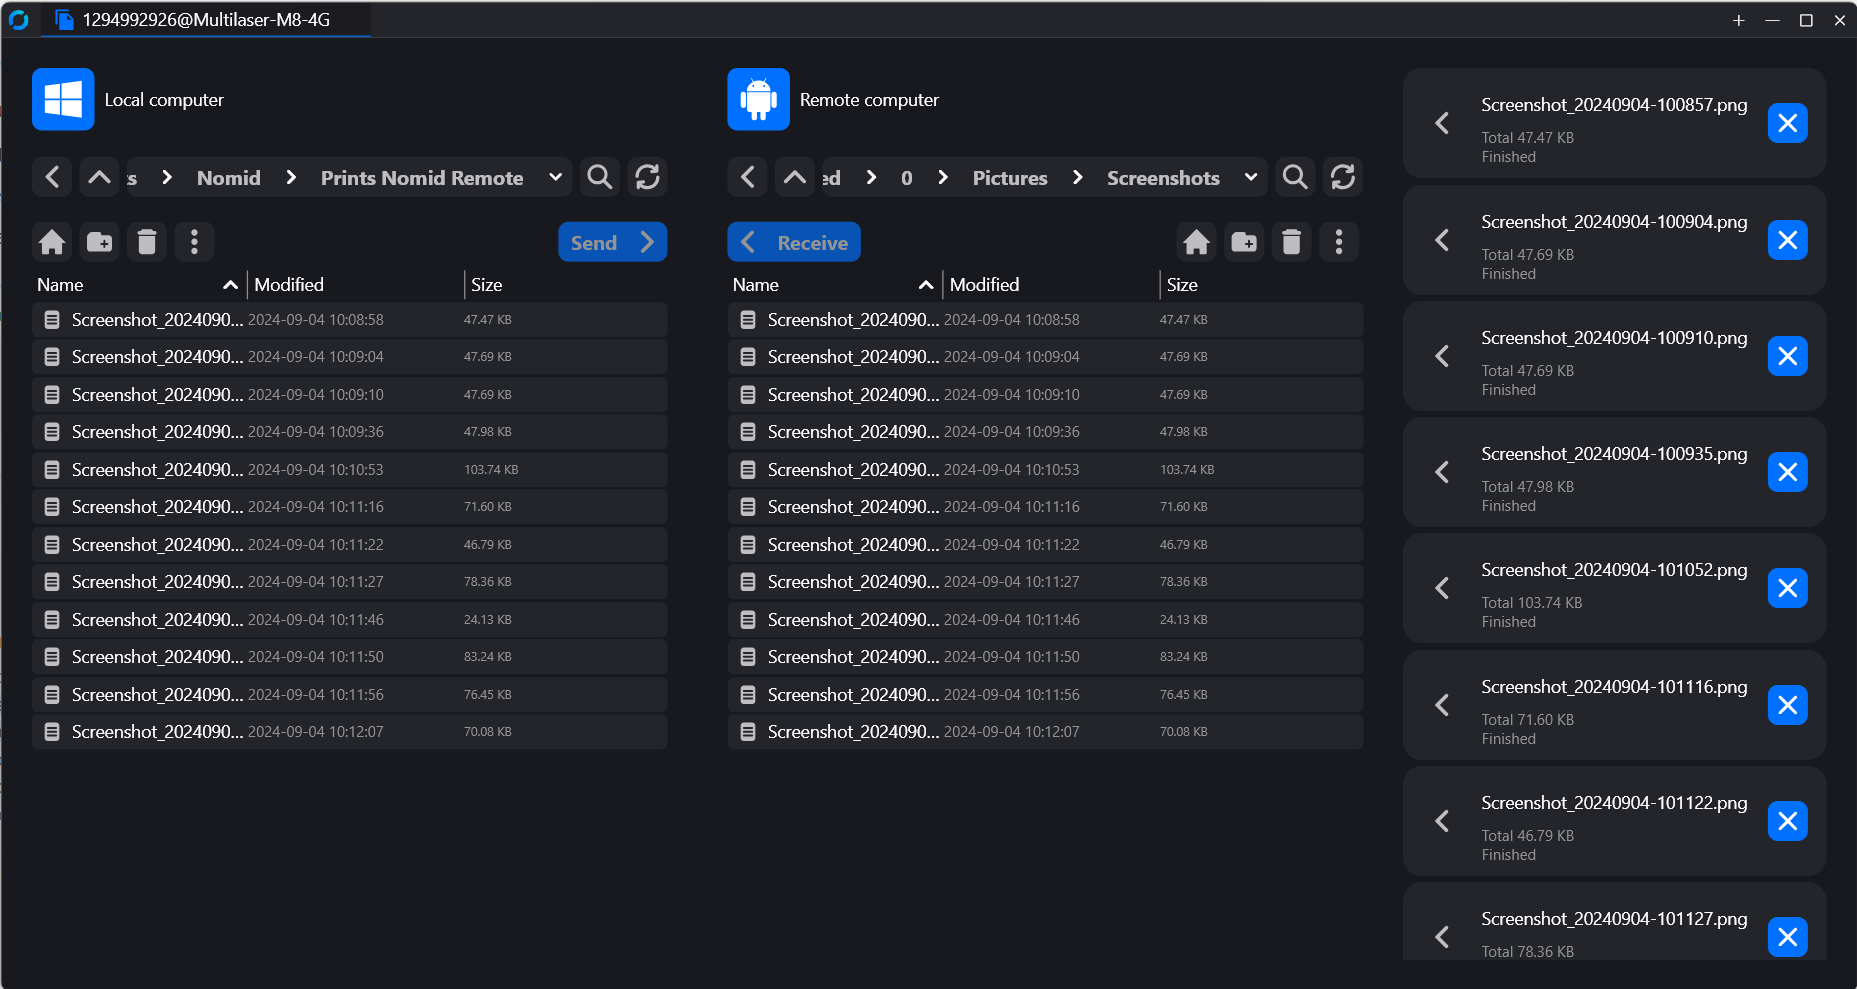
¶ File Transfer
- Access the file transfer function by clicking on the corresponding icon in the interface.
- Use the file management interface to select and transfer files between the connected devices.
¶ Access Recording
To record a session, click on the recording icon in the Nomid Remote interface's top menu. Recordings are automatically saved to the controller device, in the directory specified in the settings.

¶ Session Management and Controls
Nomid Remote allows managing multiple sessions simultaneously. You can switch between different connected devices through the main interface, where all connected devices are listed.
During the session, use the top controls to perform actions such as adjusting the screen scale, modifying the image quality, and accessing other advanced functionalities, such as remote device restart.
To end a session, click the disconnect button ('X' icon) in the upper corner of the interface.
¶ Shortcut Key and Interface Control Configuration
Nomid Remote allows configuring shortcut keys to facilitate remote device control. Access the "Controls" settings to define shortcut keys for common actions such as "Back," "Home," and "Power."

It is also possible to adjust the input mode (for example, "Legacy mode" and "Translate mode beta") to improve interaction according to the remote device's needs.
¶ Advanced Settings
¶ Display Settings
- Access the "Display" settings menu to adjust viewing preferences, such as scaling style (original or adaptive), scrolling style (automatic or scroll bar), and image codec for performance optimization.
- These settings are useful for adjusting the display according to network capacity and user visual preferences.
¶ Codec and Connection Quality Settings
Choose the most appropriate transmission codec for your needs, from options such as VP8, VP9, H264, and H265. Adjust the codec to balance image quality and performance based on network capacity.
¶ Usage Tips
¶ Improve Connection Quality
If the connection is unstable, try reducing the image quality or changing the codec in the settings. These changes can improve latency and make the remote control experience smoother.
¶ Use Voice Chat for Quick Communication
During support sessions, voice chat can be used to communicate directly with the remote device user, facilitating real-time problem solving.
¶ Record Sessions for Review
Use the recording functionality to capture important sessions that can be reviewed later. This is particularly useful for security audits or internal training.