¶ ¶ User Manual — Integrations
Application or layer: Portal Nomid MDM
Document: V1.0.0
Last updated: 17/06/2026
Language: en_US
The Integrations module connects Nomid MDM to external services used for provisioning, authentication and automation. The most common integrations are Android Enterprise, Zero-touch Enrollment, and SSO/Identity Provider.
Important: Integrations generally require administrative credentials on external services. Make changes only with authorization from the organization.
¶ ¶ Overview
¶ ¶ Integrations

The home screen of integrations available in the tenant.
This area is used to view which integrations are configured or available, such as Android Enterprise, Zero-touch, and SSO.
¶ ¶ Featured elements
- Integration Cards: show external services connectable to Nomid.
- Status: indicates active, pending or not configured integration.
- Actions: open configuration, authorization or review.
- Operational impact: integrations enable provisioning, authentication and automation of the environment.
¶ ¶ Operational guidance
- Access Integrations, check the status of each card and enter the desired integration. Review integrations when app provisioning, login, or distribution fails.
- Before saving, publishing, or running commands, confirm that the selected company, group, policy, or device matches the desired scope.
The home screen lists the services integrated into the organization and the status of each integration.
¶ ¶ What is it for
- Check which integrations are configured.
- Access Android Enterprise settings.
- Activate or review Zero-touch.
- Configure SSO/OIDC.
- Remove old or incorrect integrations.
¶ ¶ Android Enterprise
¶ ¶ Android Enterprise
The Android Enterprise integration screen.
This area is used to verify tenant linkage with Android Enterprise, a necessary basis for Android policies, Managed Google Play and device management.
¶ ¶ Featured elements
- Android Enterprise Link: connects the Nomid tenant to corporate Android management.
- Enterprise ID: identifies the linked Android Enterprise environment.
- Bind status: shows whether the integration is ready for provisioning.
- Management actions: allow you to start, review or remove links according to permission.
- Impact: Without this link, Android provisioning and policies do not work correctly.
¶ ¶ Operational guidance
- Access the integration and confirm Enterprise ID, name and status. If apps or enrollment fail, validate that link before investigating individual policies.
- Before saving, publishing, or running commands, confirm that the selected company, group, policy, or device matches the desired scope.
¶ ¶ Binds Android Enterprise
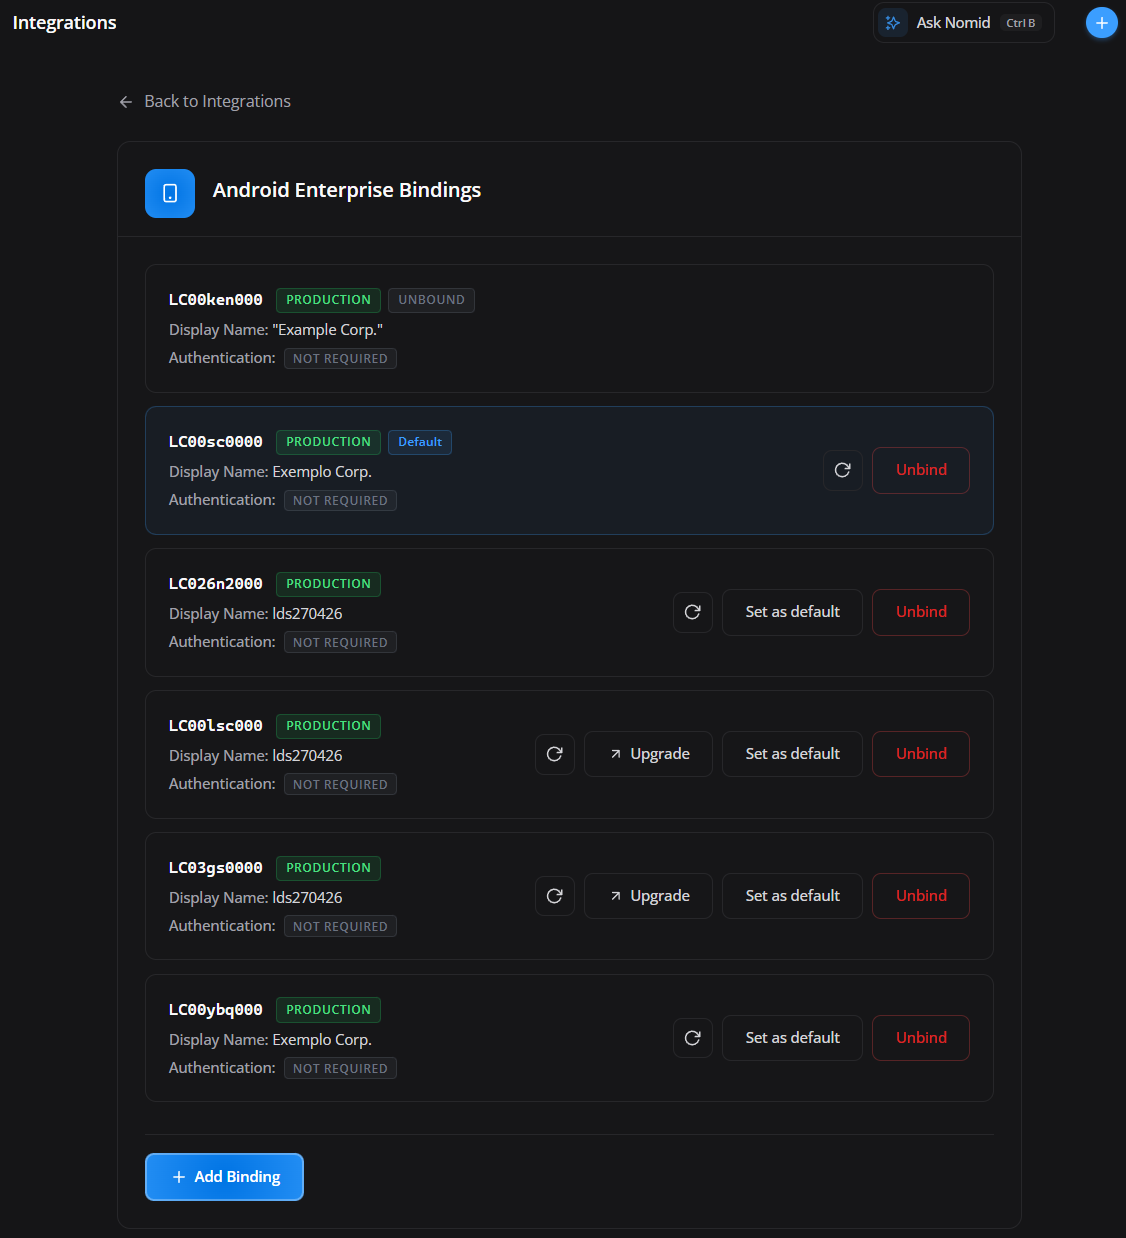
The Android Enterprise bindings area.
This area is used to review company associations, accounts, domains, or settings linked to Android management.
¶ ¶ Featured elements
- Bind list: shows existing Android Enterprise bindings.
- Linked account/company: identifies the associated Google environment.
- Status: indicates whether the link is active, pending or in error.
- Actions: allow you to review details, reconnect or remove when necessary.
- Use in provisioning: defines which link will be used by new devices.
¶ ¶ Operational guidance
- Check if the binding corresponds to the correct organization. If you change your domain or administrator account, review this screen before provisioning new devices.
- Before saving, publishing, or running commands, confirm that the selected company, group, policy, or device matches the desired scope.
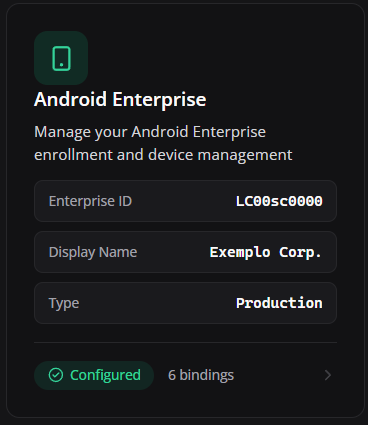
Android Enterprise integration is the foundation for modern Android device management. It allows Nomid MDM to enforce policies, distribute managed apps, use Managed Google Play, and enroll devices in corporate modes.
¶ ¶ Information displayed
- Enterprise ID: company identifier on Android Enterprise.
- Display Name: name of the linked organization.
- Type: integration type/environment.
- Status: indicates whether the integration is configured.
- Bindings: links between the company, accounts, domains or associated configurations.
¶ ¶ When to review
- When starting a new tenant.
- When Managed Google Play apps don't appear.
- When provisioning does not complete.
- When the company changed domain or administrator account.
- When devices do not receive policy after enrollment.
¶ ¶ Zero-touch Enrollment
¶ ¶ Zero-touch
The Zero-touch Enrollment integration screen.
This area is used to connect or review the Zero-touch account used for automatic provisioning of corporate Android devices.
¶ ¶ Featured elements
- Zero-touch: allows automatic provisioning of compatible devices.
- Enrollment settings: associate token, policy and DPC with the purchased device.
- Reseller integration: depends on devices assigned to the customer on the Zero-touch portal.
- Benefit: reduces manual steps and avoids incorrect registration in the field.
¶ ¶ Operational guidance
- Access Zero-touch, validate that the integration is active and that the correct client is linked. Use when devices purchased from a reseller should automatically register with Nomid.
- Before saving, publishing, or running commands, confirm that the selected company, group, policy, or device matches the desired scope.
¶ ¶ Active Zero-touch Integrations
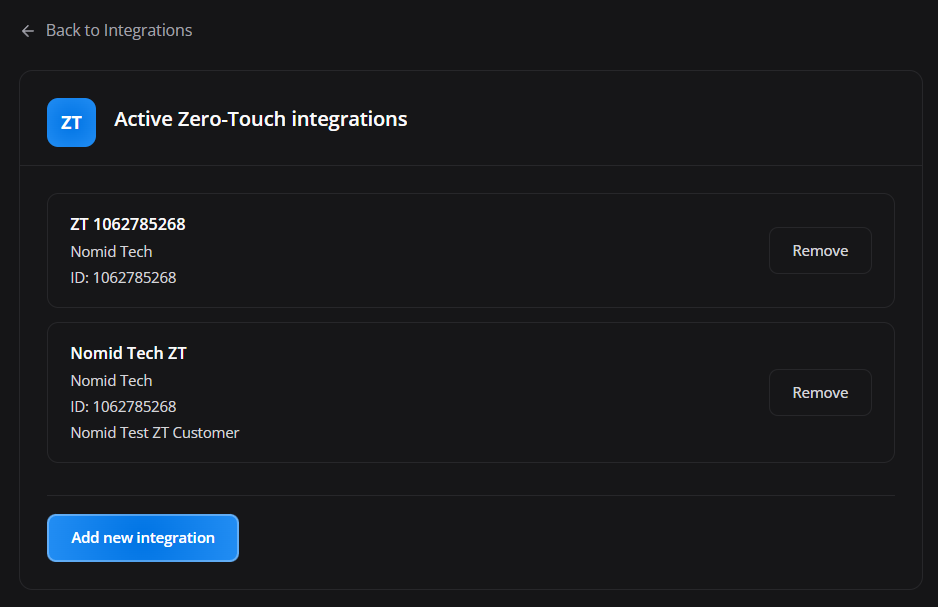
The list of already active Zero-touch integrations.
This area is used to identify Zero-touch accounts/clients connected to the tenant and review their status.
¶ ¶ Featured elements
- Zero-touch account: shows already configured integrations.
- Customer/company: identifies the purchasing and provisioning environment.
- Status: confirms whether the integration is authorized.
- Actions: allow you to update, remove or review the connection.
- Operational use: automates activation of devices purchased from authorized resellers.
¶ ¶ Operational guidance
- Check if the expected customer appears in the list. If it does not appear, validate Google account permission on the Zero-touch portal and reauthorize with the correct account.
- Before saving, publishing, or running commands, confirm that the selected company, group, policy, or device matches the desired scope.
¶ ¶ Enable Zero-touch integration

The flow to enable Zero-touch integration.
This area is used to initiate authorization with Google to connect Nomid MDM to the customer's Zero-touch portal.
¶ ¶ Featured elements
- Activation flow: starts authorization with the Zero-touch account.
- Authorized Google account: must have permission on the customer's Zero-touch portal.
- Permissions requested: enable reading and management of provisioning settings.
- Confirmation: completes the link for use in registrations.
- Validation: must be done with a device assigned on the Zero-touch portal.
¶ ¶ Operational guidance
- Select activate, authenticate with a Google account that has permission on Zero-touch and approve access. Then return to Nomid and confirm that the integration is listed as active.
- Before saving, publishing, or running commands, confirm that the selected company, group, policy, or device matches the desired scope.
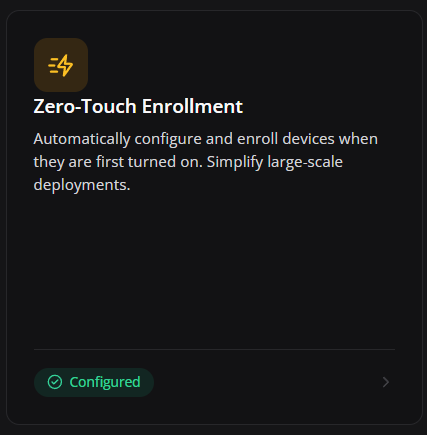
Zero-touch Enrollment allows corporate Android devices to be automatically provisioned when turned on for the first time or after factory reset, as long as they are registered in the company's Zero-touch portal.
¶ ¶ What integration does
- Connects Nomid MDM to the organization's Zero-touch account.
- Allows you to consult configurations and linked clients.
- Helps automate enrollment on a large scale.
- Reduces manual intervention during device preparation.
¶ ¶ Activation
The activation flow redirects to Google authorization. The account used must have permission on the Zero-touch portal. After authorization, the integration is listed as active in Nomid MDM.
Attention: By authorizing the integration, the organization grants Nomid access to the information necessary to manage the Zero-touch integration. Confirm that the Google account used is the customer's correct account.
¶ ¶ Common problems
- The Zero-touch client does not appear: confirm that the Google account has permission on the Zero-touch portal.
- The device does not provision: validate that the IMEI/serial was registered by the reseller and that there is an associated profile.
- The device has already been used: perform factory reset before enrollment.
- Incorrect profile: review the configuration on Nomid and the Zero-touch portal.
¶ ¶ SSO / Identity Provider
¶ ¶ SSO
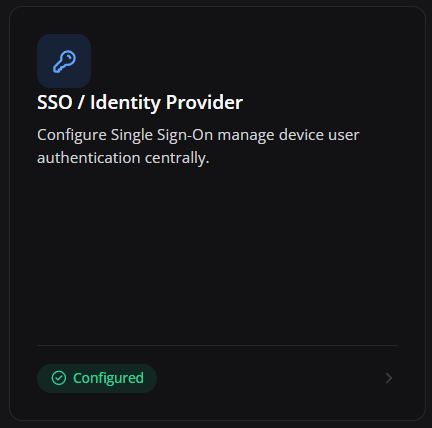
The SSO/Identity Provider screen.
This area is used to configure centralized authentication for administrative users of the portal, reducing dependence on local passwords.
¶ ¶ Featured elements
- SSO: centralizes portal login to a corporate identity provider.
- Registered providers: show available methods for authentication.
- Status: indicates whether federated login is active.
- Security: reduces local passwords and makes it easier to log off users in the corporate directory.
¶ ¶ Operational guidance
- Access SSO, choose the compatible provider or method and configure the data provided by the IdP. Test with a pilot user before requiring SSO for everyone.
- Before saving, publishing, or running commands, confirm that the selected company, group, policy, or device matches the desired scope.
¶ ¶ Add SSO
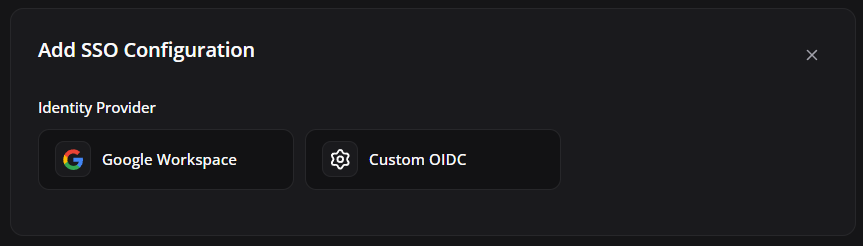
The screen for adding a new SSO integration.
This area is used to start identity provider registration, selecting type, name and initial parameters.
¶ ¶ Featured elements
- Identity Provider: defines Google, Microsoft or compatible OIDC provider.
- Client ID: identifies the application configured in the identity provider.
- Client Secret: authenticates the integration and must be treated as sensitive information.
- Issuer/Discovery URL: tells where Nomid gets metadata from the provider.
- Allowed domains: limit which users can authenticate.
- Login test: confirms that the flow is working before requiring SSO for everyone.
¶ ¶ Operational guidance
- Select add SSO, choose the provider and fill in the required fields. Maintain a contingency administrative account until you validate login and permissions.
- Before saving, publishing, or running commands, confirm that the selected company, group, policy, or device matches the desired scope.
¶ ¶ Identity Provider
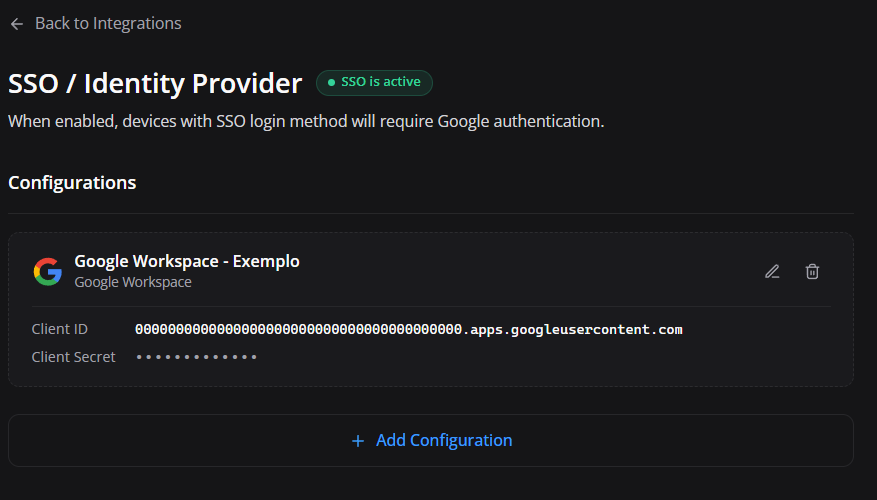
The selection or configuration of Identity Provider.
This area is used to choose the identity provider used for authentication, such as Google, Microsoft, or an OIDC/SAML compliant provider as supported by the tenant.
¶ ¶ Featured elements
- Identity Provider: defines Google, Microsoft or compatible OIDC provider.
- Client ID: identifies the application configured in the identity provider.
- Client Secret: authenticates the integration and must be treated as sensitive information.
- Issuer/Discovery URL: tells where Nomid gets metadata from the provider.
- Allowed domains: limit which users can authenticate.
- Login test: confirms that the flow is working before requiring SSO for everyone.
¶ ¶ Operational guidance
- Select the IdP used by the company and follow the configuration data. Confirm URLs, client ID, client secret and authorized domains when applicable.
- Before saving, publishing, or running commands, confirm that the selected company, group, policy, or device matches the desired scope.
¶ ¶ Custom OIDC
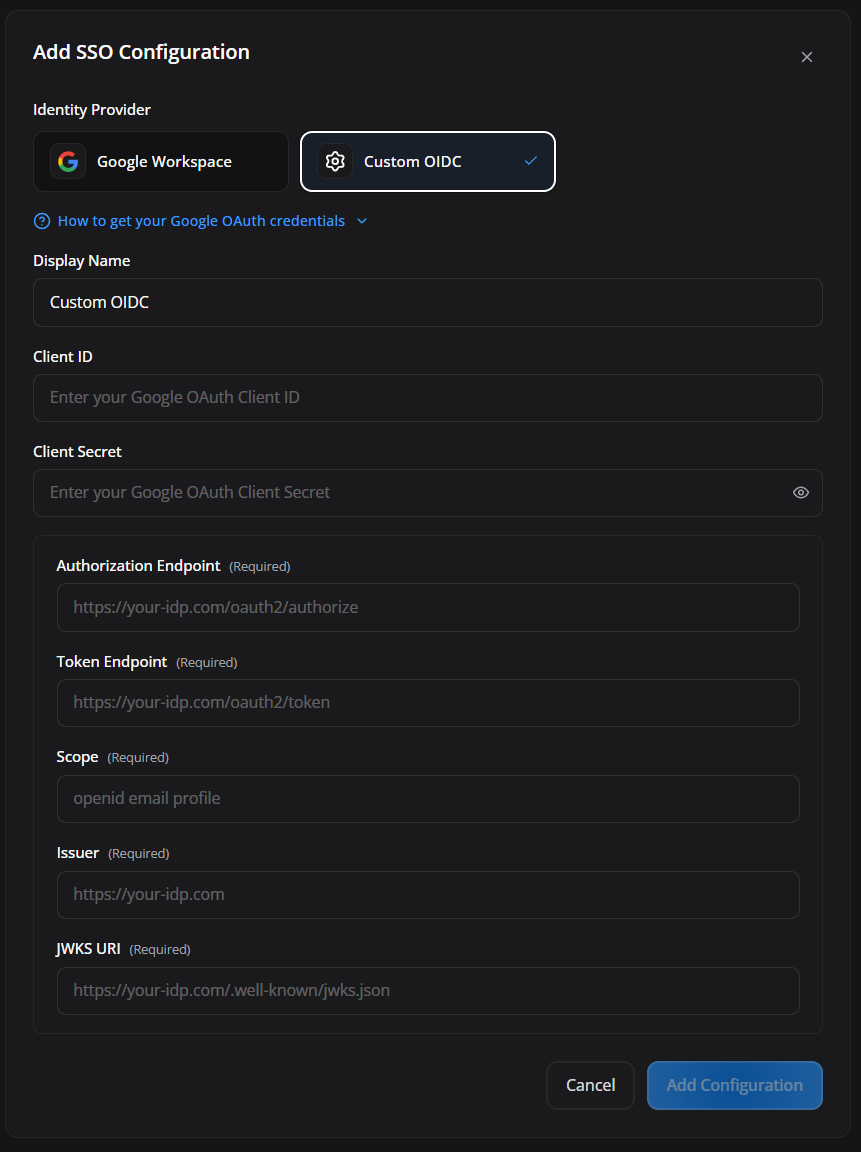
The customized OIDC form.
This area is used to manually register an OpenID Connect provider with endpoints, client ID, client secret, scopes and authentication parameters.
¶ ¶ Featured elements
- Identity Provider: defines Google, Microsoft or compatible OIDC provider.
- Client ID: identifies the application configured in the identity provider.
- Client Secret: authenticates the integration and must be treated as sensitive information.
- Issuer/Discovery URL: tells where Nomid gets metadata from the provider.
- Allowed domains: limit which users can authenticate.
- Login test: confirms that the flow is working before requiring SSO for everyone.
¶ ¶ Operational guidance
- Copy the data from the identity provider dashboard, paste it into Nomid and save. Test login with a low-risk user before releasing to the entire organization.
- Before saving, publishing, or running commands, confirm that the selected company, group, policy, or device matches the desired scope.
The SSO / Identity Provider integration centralizes users' login to an identity provider, such as Google Workspace or a custom OIDC provider.
¶ ¶ Common providers
- Google Workspace: recommended for companies using managed Google accounts.
- Custom OIDC: used when the company has another provider compatible with OpenID Connect.
¶ ¶ Common fields in OIDC
- Client ID.
- Client Secret.
- URL issuer.
- Authorization endpoint.
- Token endpoint.
- User info endpoint.
- Redirect URI.
- Scopes, such as
openid,emailandprofile.
¶ ¶ Good practices
- Configure first in test environment, if available.
- Confirm that the user's email domain is accepted.
- Maintain a contingency administrator user, according to company policy.
- Test login before requiring SSO for everyone.
- Document who is responsible for the identity provider.
¶ ¶ Integration checklist
- Does the account used to link the service have administrative permissions?
- Does the integration appear as configured in Nomid?
- Is the domain/company displayed correct?
- Has the flow been tested with a real device or user?
- Is there a rollback or support procedure if the integration fails?